- Published on
How to Connect Mysql Database with PHP

When many developers refer to a database, they are usually referring to MySQL, a highly popular database management system that can power projects of all sizes. Its ability to handle huge volumes of data without breaking a sweat. Connect MySQL with PHP code, you can make use of one of three methods.
There are three types of methods in PHP to connect MySQL database through backend:
- MySQL
- MySQLi
- PDO
note:- mysql() is now outdated because of security issues like SQL injection etc, but the other two are being actively used.
MySQLi
MySQLi is an API used as a connector function to link the backend of the PHP app to the MySQL database. It works just like the previous version, but it is safer and faster, and provides a better set of functions and extensions. MySQLi was introduced with PHP 5.0.0 and the drivers were installed in 5.3.0. The API was designed to support MySQL from version 4.1.13 to newer ones.
PDO
PHP Data Objects (PDO) extension is a Database Abstraction Layer. It is like an interface for the backend to interact with the MySQL database and make changes without making any change in the PHP code. It also gives you the freedom to work with multiple databases. The major advantage of using PDO is that your code stays simple and portable.
Now, I’ll discuss how to connect MySQL Database on localhost:-
Connect MySQL using Localhost Server
Prerequisites
- Install xampp server with PHP 5.6.3 or higher & mysql 5.7.19 or higher
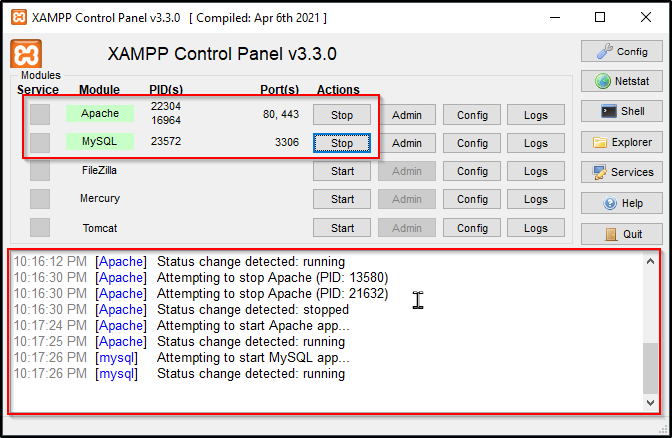
- start apache server and mysql server from xampp control panel

Step 1: Connect MySQL using Localhost Server
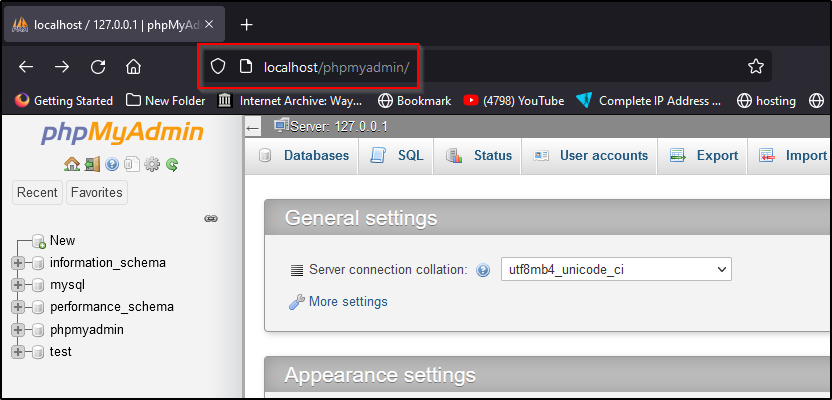
Before you start building PHP connection to MySQL, you need to know what phpmyadmin is. It's a control panel from where you can manage the databas that you've created. Now open your browser and go to http://localhost/phpmyadmin/ and login with your username and password if needed.

When you first installed XAMPP, it only created the username for it to be accessed, you now have to add a password to it by yourself. For this, you have to go to User account where the user is the same as the one shown in this picture: (Optional)

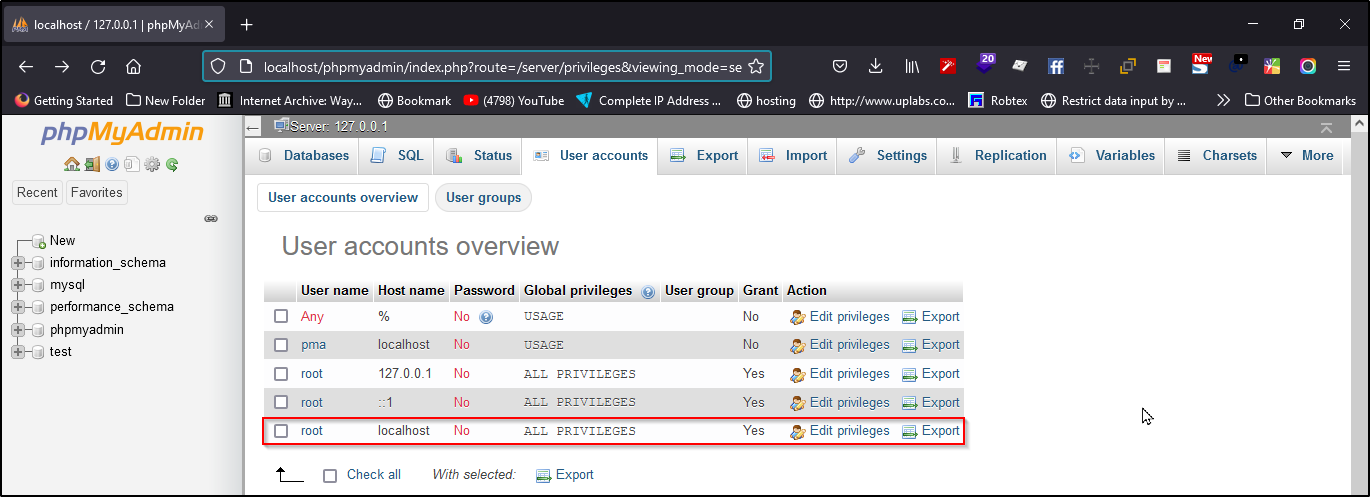
Now click Edit privileges and go to Change Admin password, type your password there and save it. Remember this password as it will be used to connect to your Database.

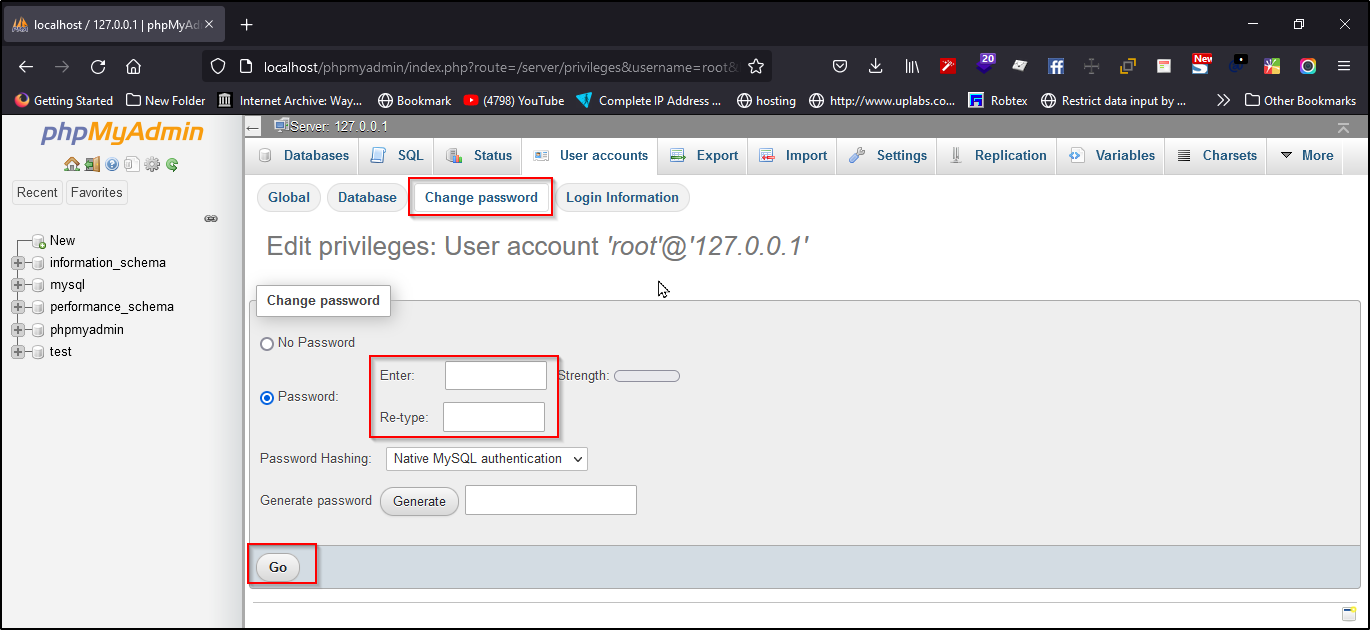
Note: It is not necessary to change the password to access databases on the localhost. It is a good practice and that is why we have used a password.
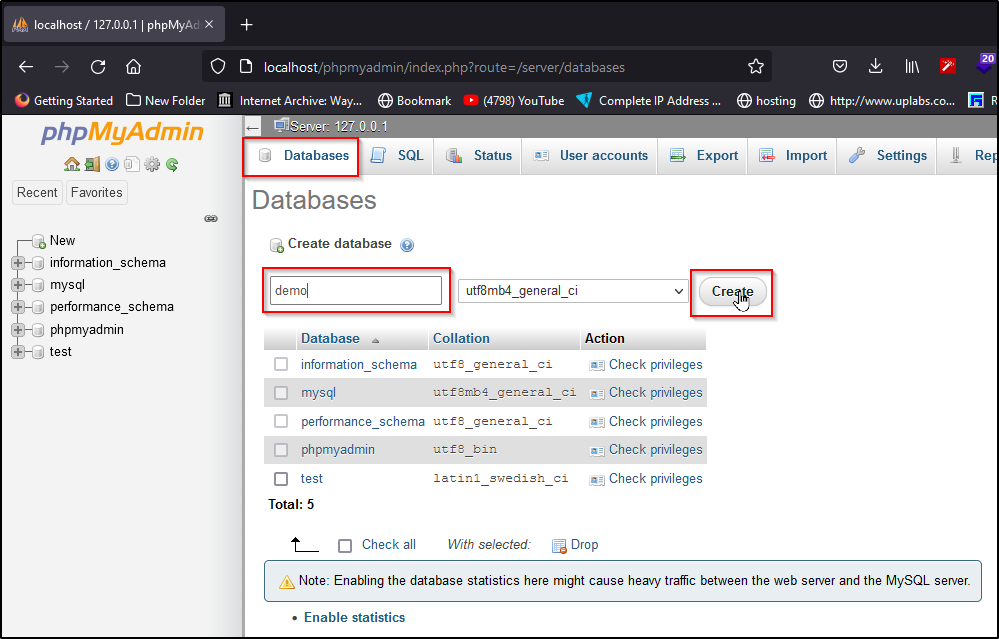
Step 2: Create Database
Now Click the Databases to create a new database. In the new window, name your database as per your need, I am naming it “demo”. Now select Collation as utf8_general_ci, as we are using it for learning purposes and it will handle all of our queries and data that will be covered in this tutorial series. Now click on Create and your database will be created.

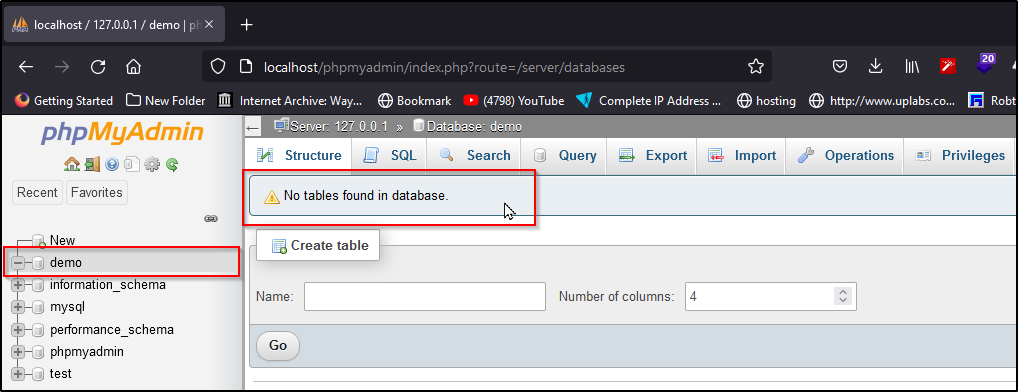
The newly created database will be empty now, as there are no tables in it. I will be covering that in the upcoming series where we will learn how to create tables and insert data in it. In this tutorial, we are going to connect this database to localhost using PHP

Step3 : Create a Folder in htdocs
Now, locate the folder where you installed XAMPP and open the htdocs folder (usually c:/xampp). Create a new folder inside c:/xampp/htdocs/ and name it demo we will place web files in this folder. Why we have created a folder in htdocs? XAMPP uses folders in htdocs to execute and run your PHP sites.

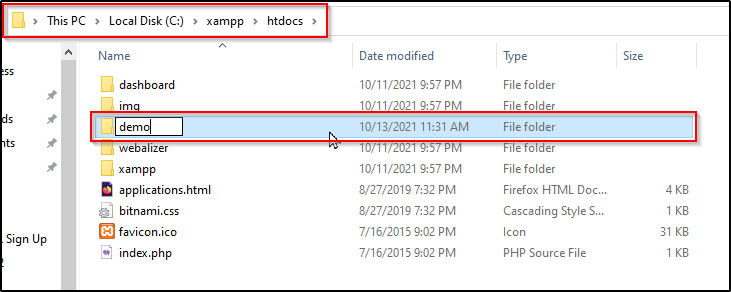
Note: If you are using WAMP, then add your demo folder in c:/wamp/www folder.
Step4 : Create connection file connection.php inside demo folder
At this point you have the option of either using MySQLi procedural connection query or PHP PDO based database connection:
MySQLi Procedural Connection Query
<?php
    /* connection.php */

    $servername = "localhost";
    $username = "root"; // root is the default username. if you have changed the username, then change it here
    $password = ""; //which is the same that you used to access your phpMyAdmin. default password is empty.
    $dbname = "demo"; //which is the name of the database you created.

    // Create connection
    $conn = new mysqli($servername, $username, $password, $dbname);

    // Check connection
    if ($conn->connect_error) {
        die("Connection failed: " . $conn->connect_error);
    }
    echo "Connected successfully";
?>
Or
PHP PDO Connection
    <?php
        /* connection.php */

        // Create connection using pdo
        $servername = "localhost";
        $username = "root"; // root is the default username. if you have changed the username, then change it here
        $password = ""; //which is the same that you used to access your phpMyAdmin. default password is empty.
        $dbname = "demo"; //which is the name of the database you created.

        try {
            $conn = new PDO("mysql:host=$servername;dbname=$dbname", $username, $password);

            // set the PDO error mode to exception
            $conn->setAttribute(PDO::ATTR_ERRMODE, PDO::ERRMODE_EXCEPTION);

            echo "Connected successfully";

        } catch (PDOException $e) {

            echo "Connection failed: " . $e->getMessage();

        }
    ?>
Run It!
Now open your browser and goto http://localhost/demo/connection.php and you should see this screen:

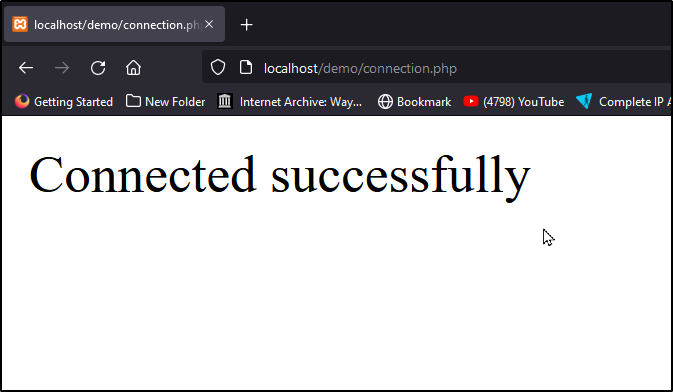
Congratulations! You’ve successfully connected your database with your localhost! If you are not able to see this screen, then check if you have done everything right in your connection.php file.
Conclusion
MySQL is the backbone of any web project. Whether its a CMS or an online task tracking platform, you need a MySQL database(s) to keep track of app and user information and server data to the application processes.
In this tutorial, we have learned two things:
How to create a new database How to connect MySQL database with PHP
We now have our databases ready for data-entry by creating tables in the newly created databases.