- Published on
How to install XAMPP on Windows 10

What is xampp?
XAMPP is a free open source software package that allows you to run a local web server on your computer. It is a combination of Apache, MySQL, PHP and Perl.
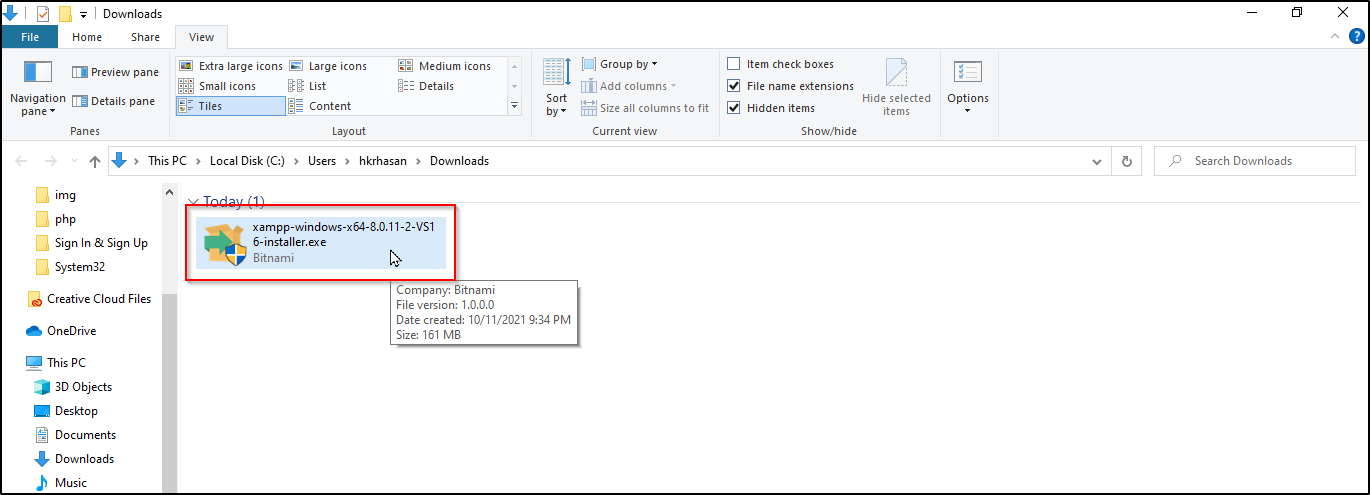
Step 1: Download XAMPP and install it
- To download XAMPP, use the following link: https://www.apachefriends.org/index.html
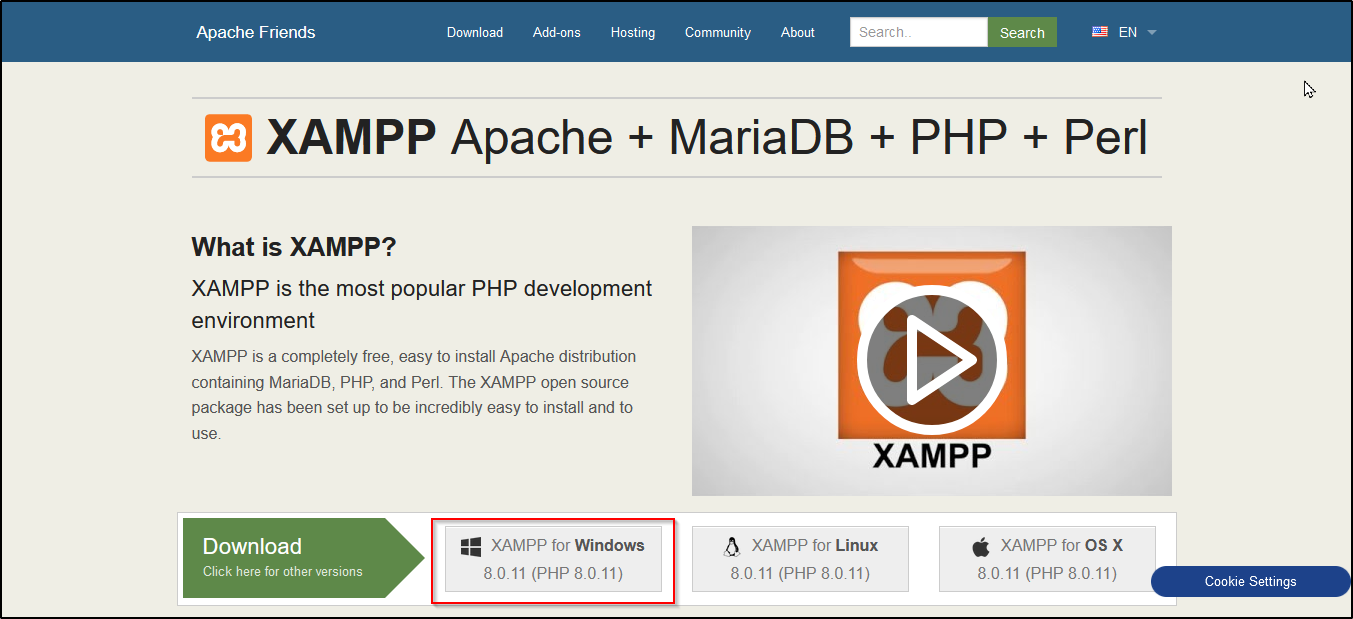
You will see XAMPP ready to download for cross-platform like Windows, Linux, Mac OS X. Since we are discussing How to install XAMPP on Windows 10, therefore, we will choose the Windows option as shown below.
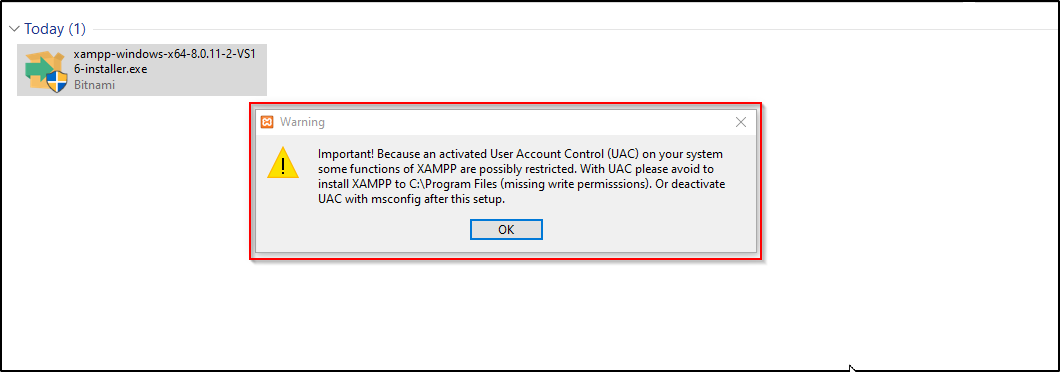
Step 2: Run the installer and install XAMPP

During the installation process, you may across warning pop-ups. But you would probably click 'ok' to continue.

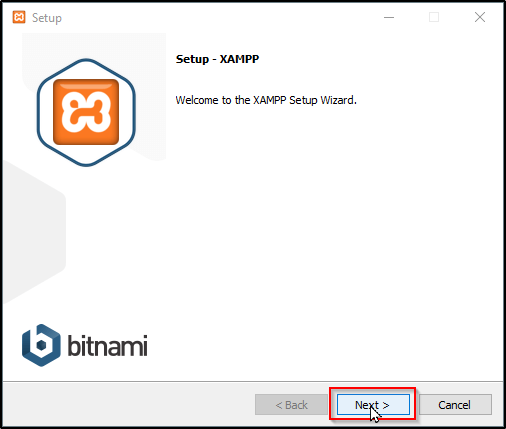
Step 3: Setup Wizard
After you click on the downloaded file, the XAMPP setup wizard will open. Now click on the ‘Next’ Button to proceed.

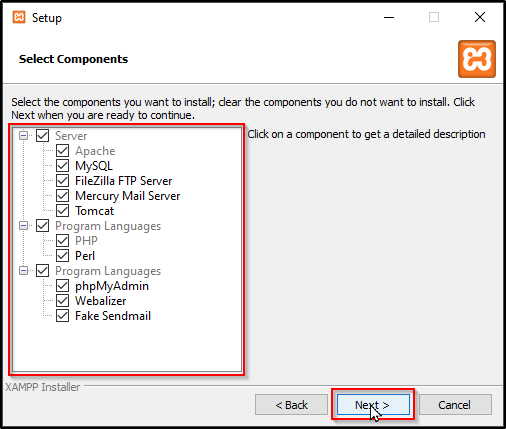
Step 4: Select Components
Next, you need to check the components which you want to install and can uncheck or leave as it is which you don’t want to install.
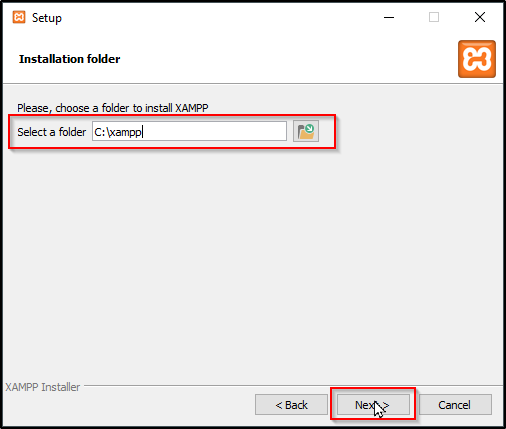
Step 5: Select Installation Folder
Now you need to choose the folder where you want to install the XAMPP. You can choose the default location or you can choose any location of your choice and choose the ‘Next’ button to move ahead.
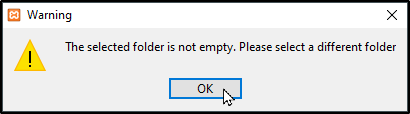
Note:- If folder have already exists, it will show you.

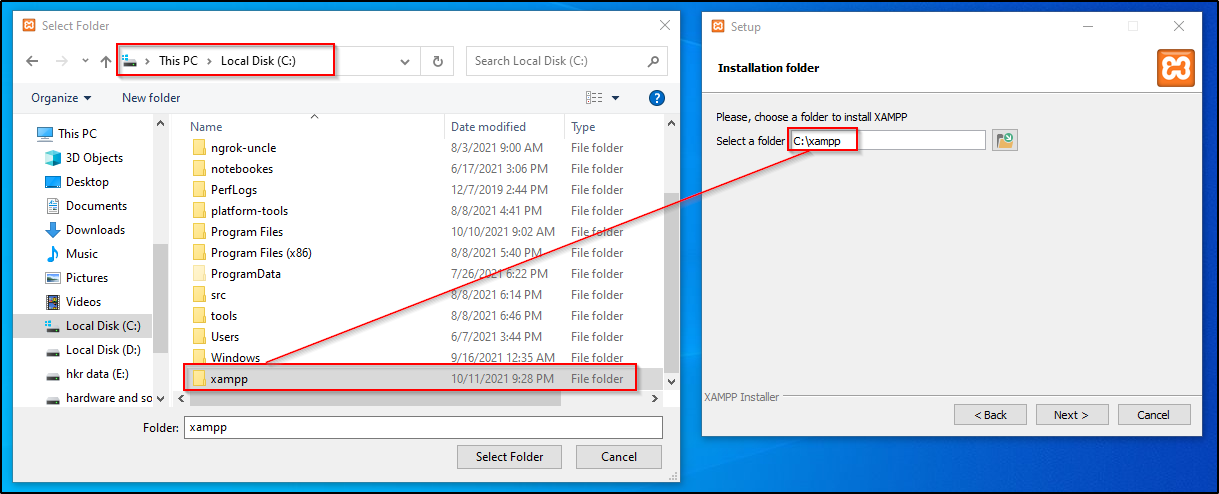
Now you can either choose the default location or you can choose any location of your choice and choose the ‘Next’ button to move ahead. if you want to choose the default location, then delete the existing folder and choose the ‘Next’ button to move ahead.

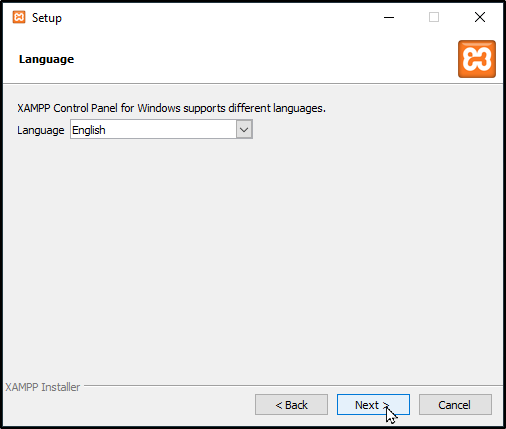
Step 6: Select the language
After you have selected installation directory you need to select the language.
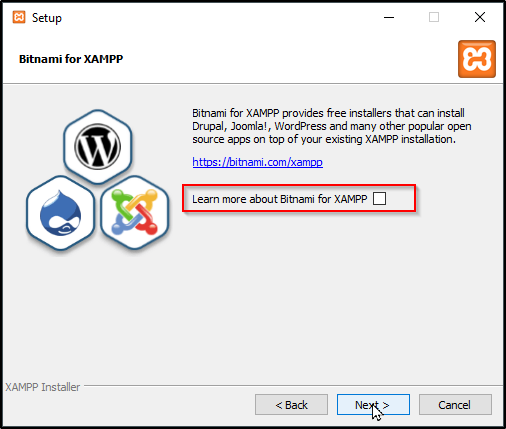
Step 8: Bitnami for XAMPP
Now will see a window showing you information about Bitnami. Befor click on the Next button you need to uncheck Learn more about Bitnami. then click on Next button.
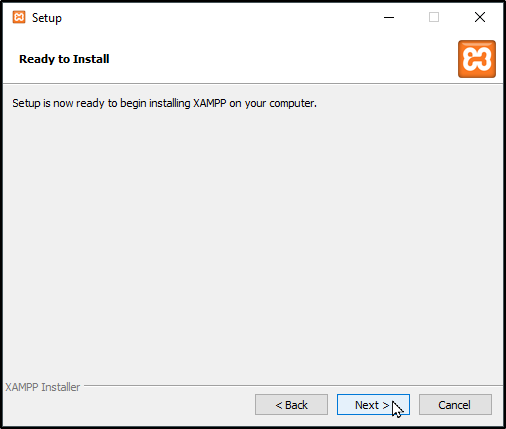
Step 9: Ready To Install
Now you’ll see another window with a message “Setup is now ready to begin installing XAMPP on your computer” like shown below. You just have to hit the Next button to proceed.
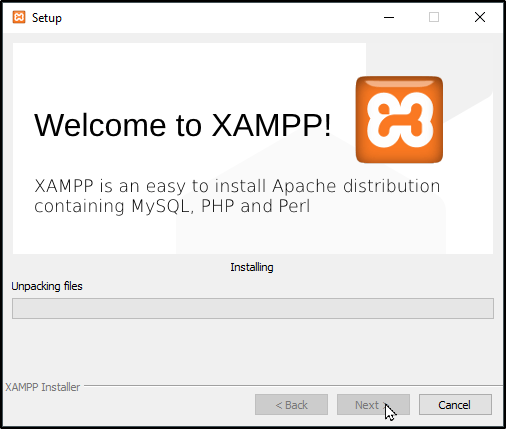
Step 10: Welcome to XAMPP Wizard
Now just be patient and wait for the installation to complete.
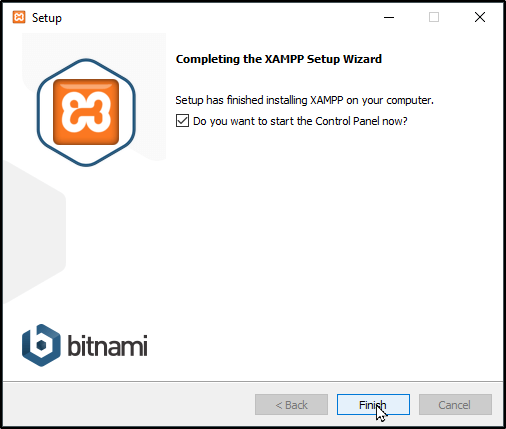
Step 10: XAMPP Installation Complete
Once the installation is completed, you will be asked whether you would like to start the control panel now or not, displaying the message “Do you want to start the control panel now?” Check the box and click on the ‘Finish’ button and see if the XAMPP is working fine.
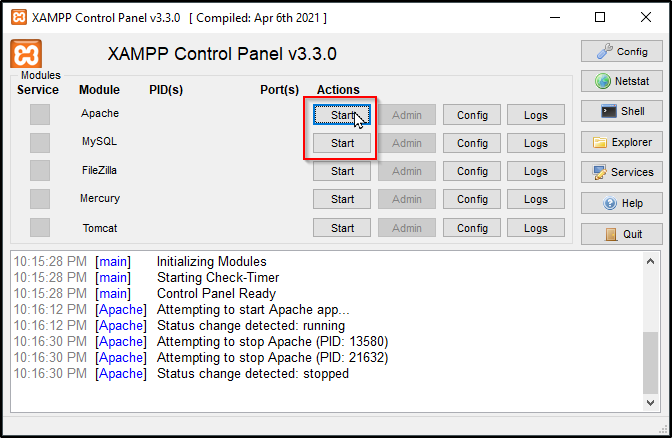
Step 12: XAMPP is now Installed onWindows, run it
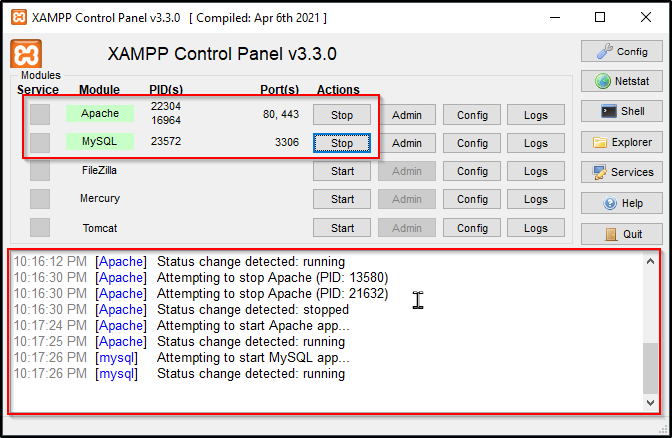
If the entire process of XAMPP installation went correctly, then the control panel would open smoothly. Now click on the ‘Start’ button corresponding to Apache and MySQL